How to Link Frontend and Backend with Data Binding in Momen
In this tutorial, we'll walk through the process of creating a course detail page using Momen. We’ll start by laying out the page structure, and then focus on the crucial task of data binding—connecting your user interface with backend data sources effectively.
Understanding the Course Detail Page Layout
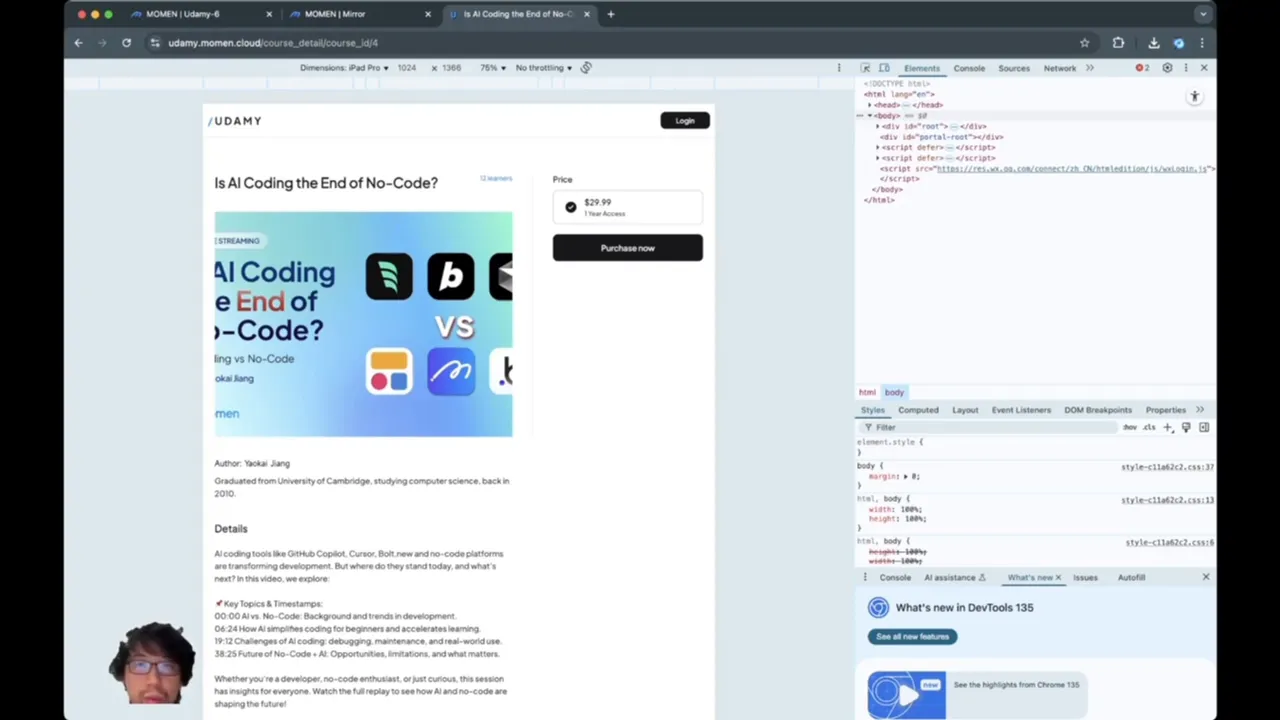
The course detail page follows a common app pattern: starting from a list of courses, users click to view detailed information about a selected course. The layout of this page adapts responsively depending on screen width.
On wide screens, the layout is typically left-to-right: the course title and media (image or video) on the left, and course actions like pricing and purchase button on the right. When the screen narrows, such as on mobile devices, the layout switches to a top-to-bottom flow for better readability.
This responsive behavior is controlled by wrapping the content into two main views: a top view and a bottom view. The top view contains the title and media, while the bottom view holds additional information like author details and course description.
Breaking Down the Layout Components
Top Bar: Fixed at the top, consistent with the homepage.
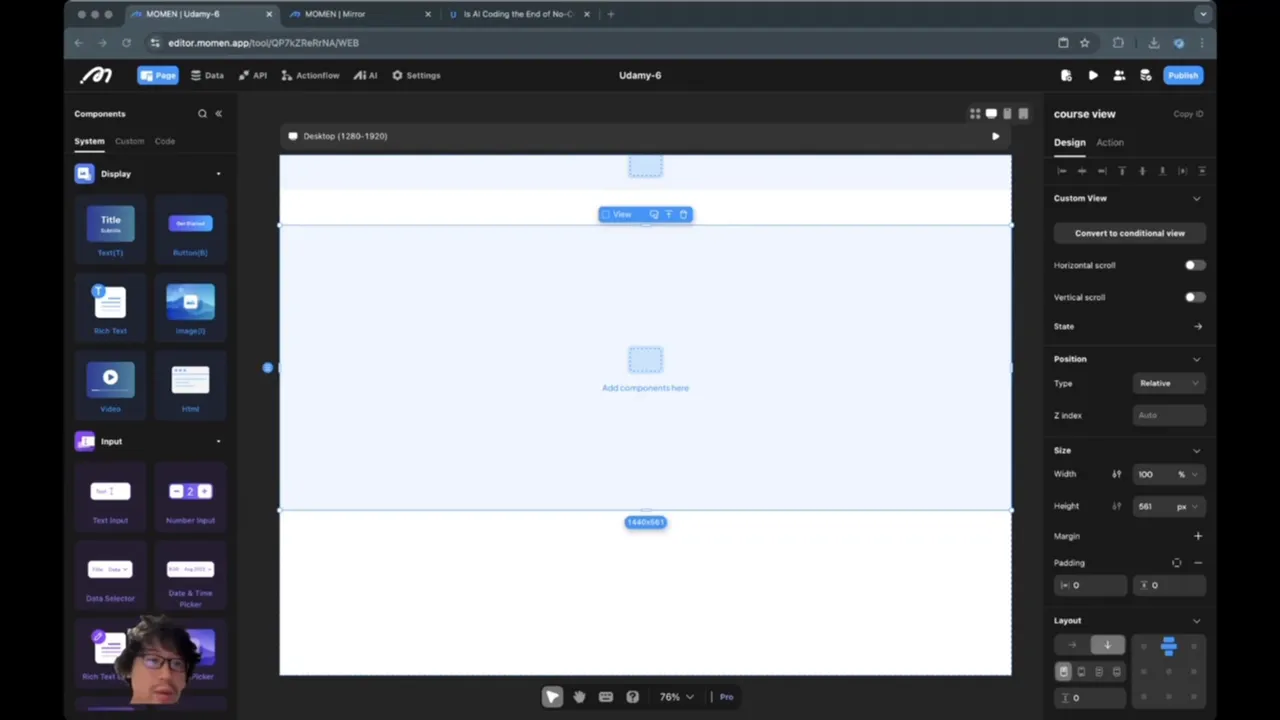
Course View Container: Holds the top and bottom views, with padding and max-width constraints for better appearance on wide screens.
Course Container and Side Panel: On wide screens, the course container takes most space, while a fixed-size side panel contains purchase actions.
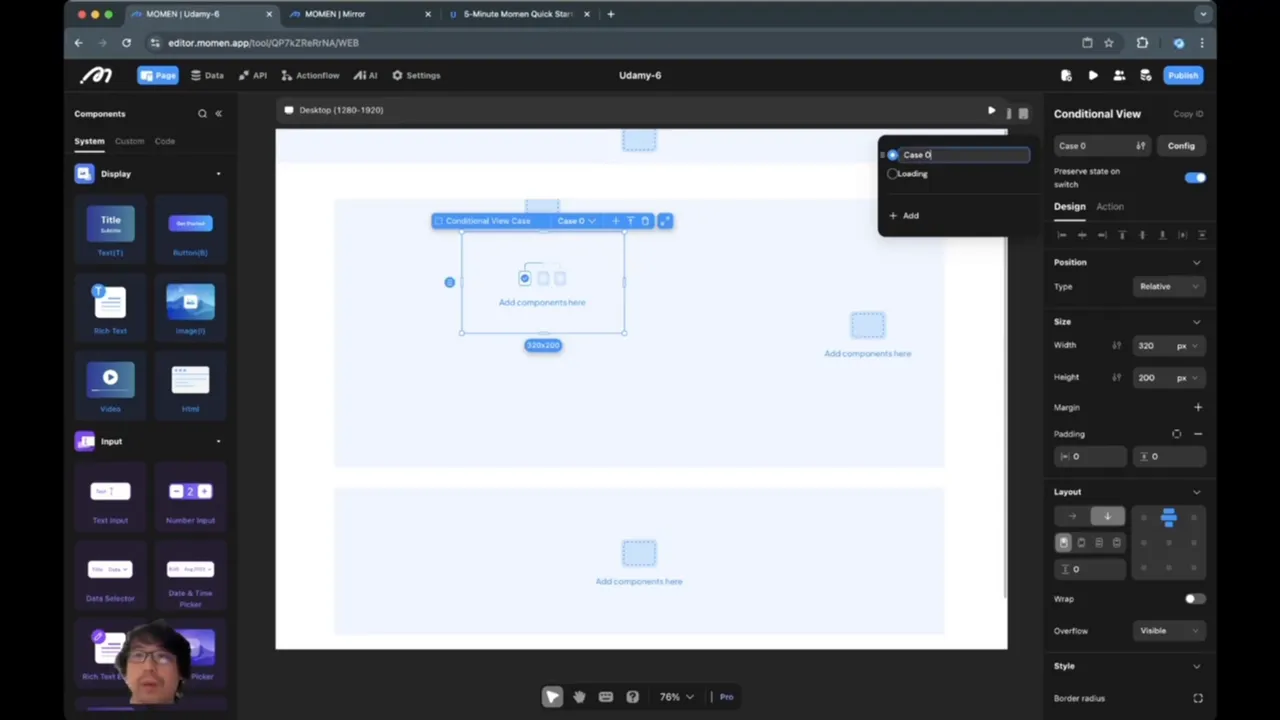
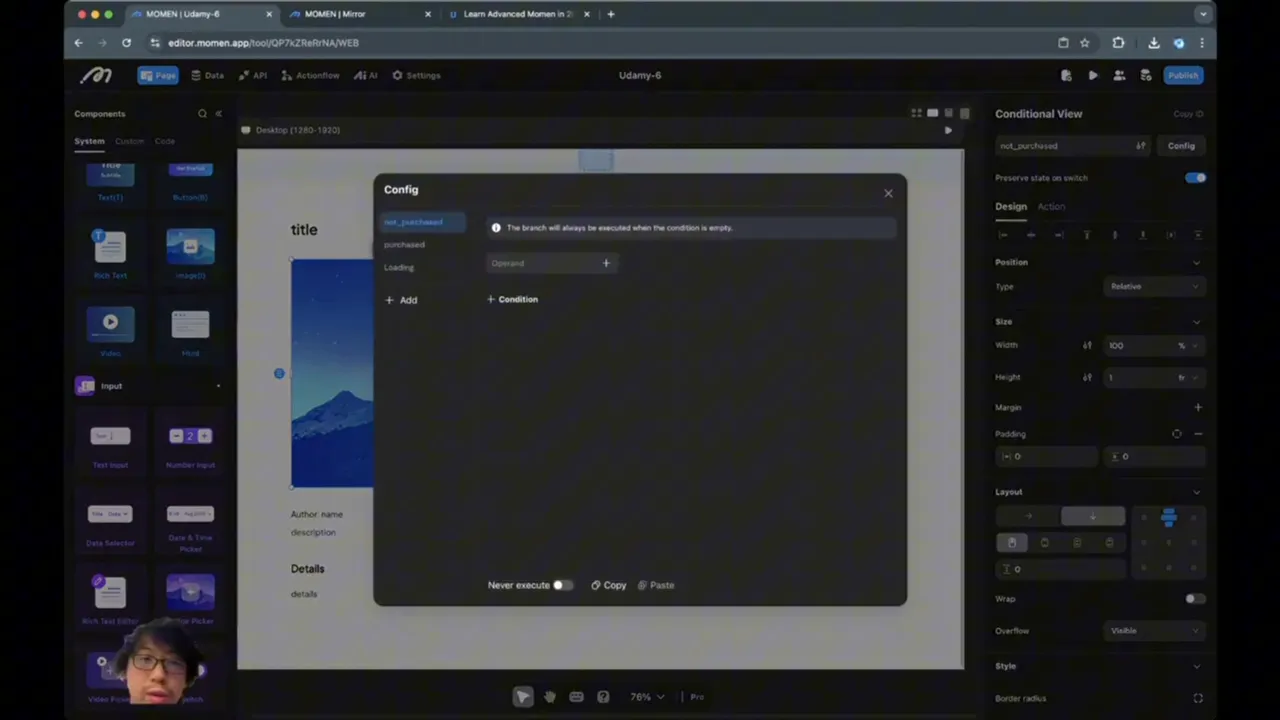
Conditional Views: Sections like media display and purchase buttons change depending on whether the course is purchased.
Setting max-width on the course container ensures that on very wide screens, content doesn’t stretch too far, maintaining readability and aesthetics.
Implementing Conditional Views for Purchased vs. Not Purchased States
A key feature of the course detail page is displaying different content depending on whether the user has purchased the course.
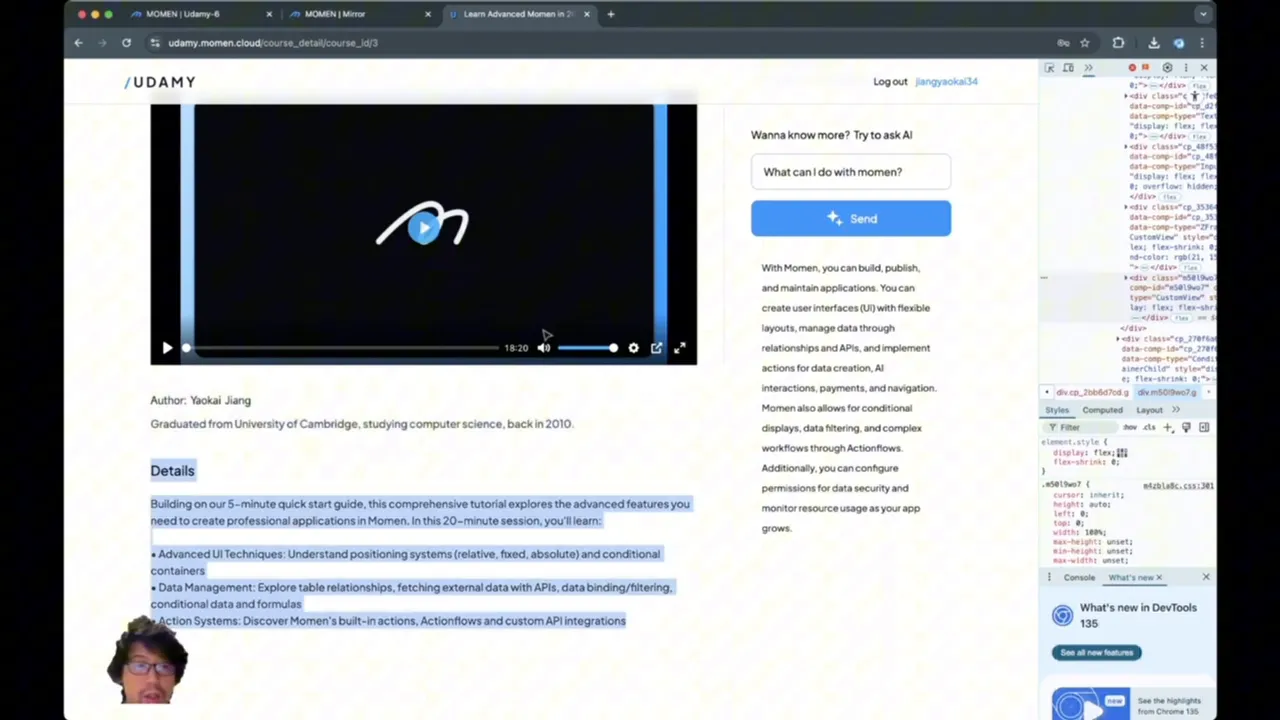
For the media section, if the course is purchased, a video player is displayed. Otherwise, the course cover image is shown. This is implemented using conditional views, which switch content based on the purchase state.
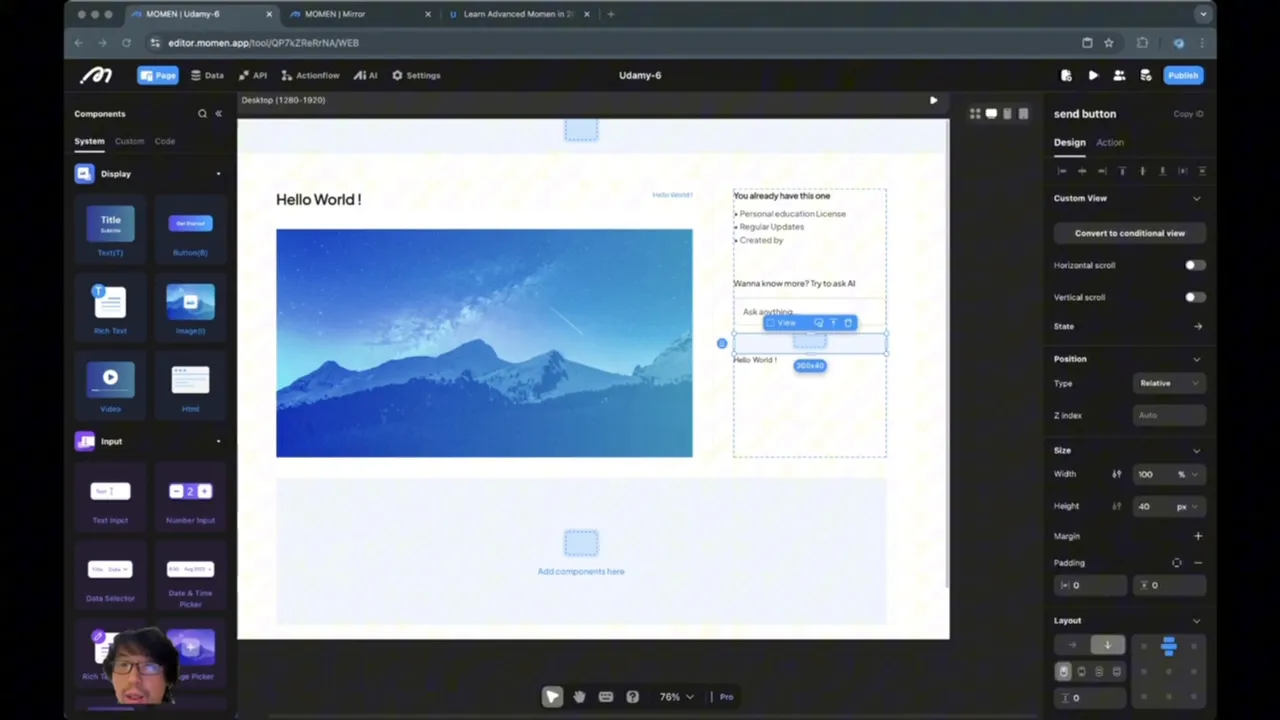
Similarly, the purchase panel on the right side also changes. If the course is not purchased, it shows the price and a "Purchase Now" button. If already purchased, it displays a message indicating ownership and provides an input box for asking questions to an AI assistant, along with a send button.
Details of the Purchase Panel Layout
When new (not purchased), the panel shows:
Price label with course price and access duration.
Purchase Now button styled with rounded corners and brand colors.
When purchased:
Message showing ownership.
Input field for AI questions, styled for multiline input and aligned text.
Send button with icon and label, designed with padding and gap for clean layout.
Answer display area for AI responses.
Margins and paddings are carefully used to space elements unevenly where needed, such as larger spacing before the AI input box for better visual separation.
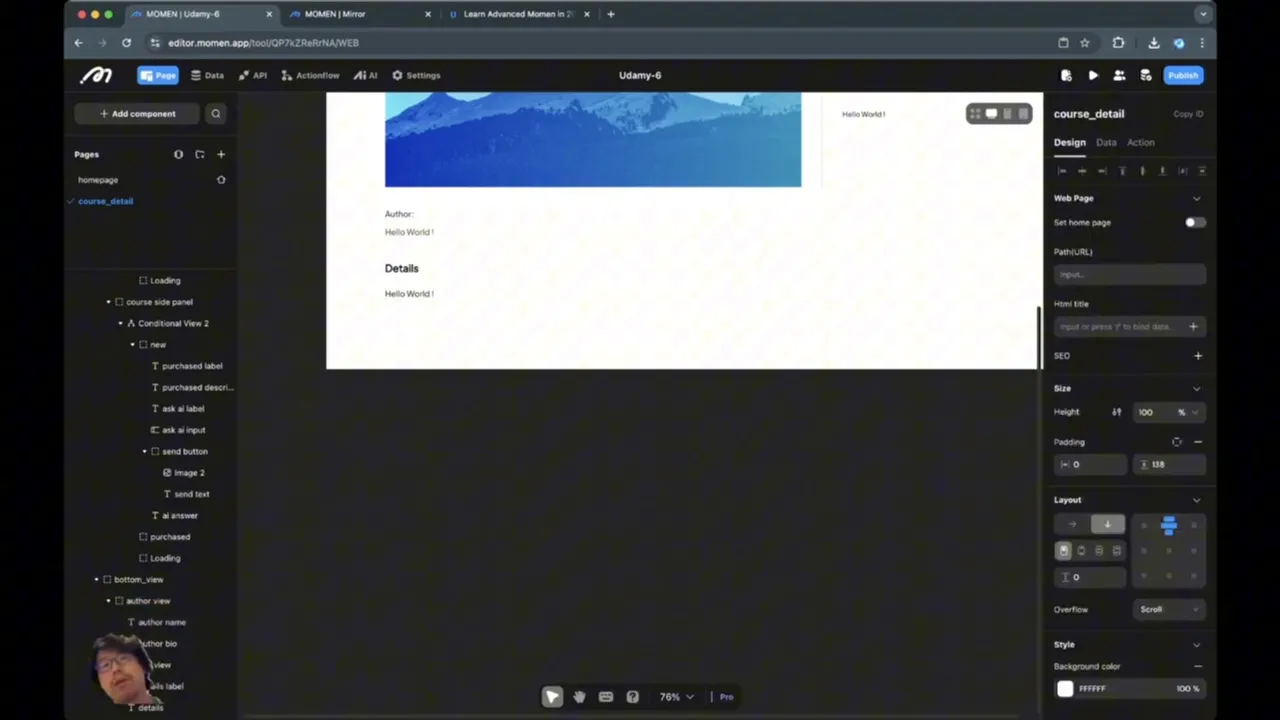
Adding Author and Course Details Sections
To the right side of the page, space is reserved for author information and course details. These sections are stacked vertically and aligned to the top right.
The author view contains:
Author name
Author bio
The details view includes course description or additional details.
Both sections have gaps between their text components to ensure readability and separation.
Removing Default Background Colors for Clean UI
During the layout process, default background colors are used temporarily for debugging and visualizing container boundaries. Before finalizing, all unnecessary background colors are removed to achieve a clean, professional look.
Data Binding: Connecting UI to Backend Data Sources
Now that the UI structure is in place, the next important step is binding data to the page elements so that the course detail page dynamically displays relevant information from the backend.
Identifying Required Data
The page needs access to several pieces of data:
Course content: title, cover image, video URL, description
Author information: name, bio
Purchase status: whether the logged-in user owns the course
Number of learners: count of users who have purchased the course
Course price: for display in the purchase panel
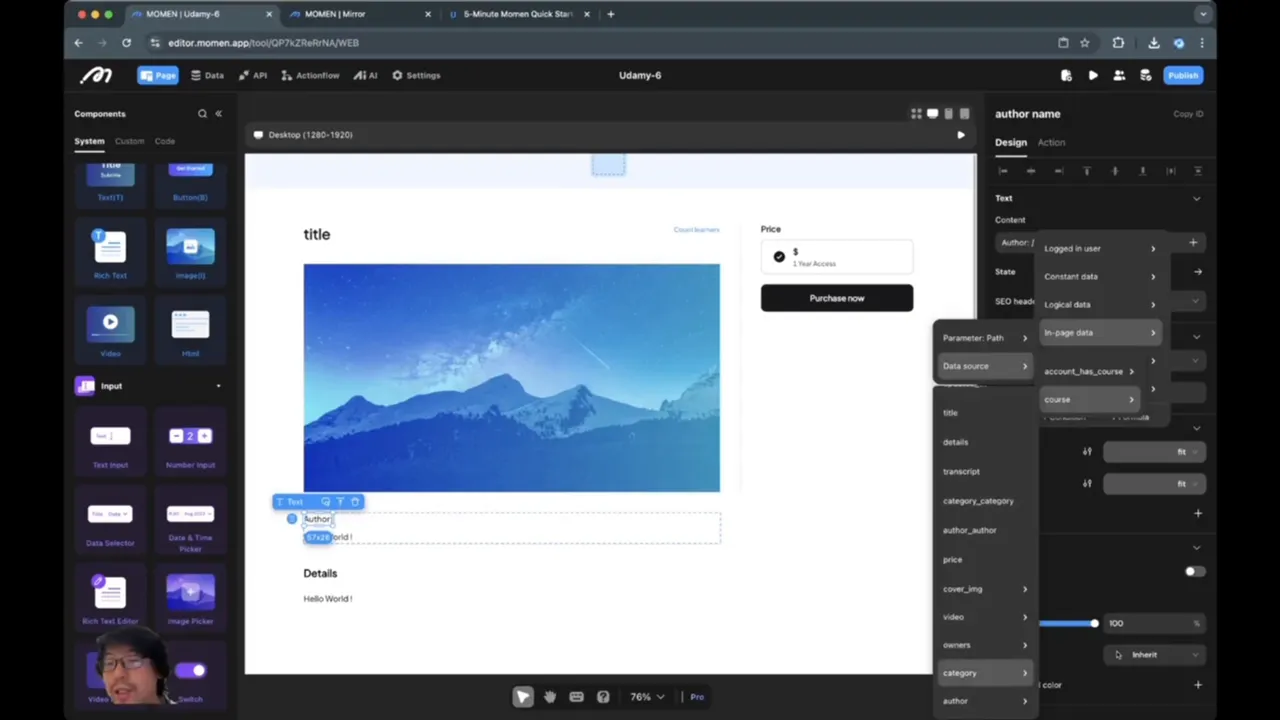
Using Course ID to Fetch Data
The page receives a course ID parameter, which it uses to query the backend for the corresponding course record. This ID is passed around within the app and serves as the key to fetch all related data.
Although more SEO-friendly URLs can be implemented later, using the course ID directly simplifies initial development.
Setting Up Data Sources
Two main data sources are defined:
Course Data Source: A query fetching the course whose ID matches the passed course ID. This source provides all course-related fields, including title, cover image, video, description, and author information.
Account Has Course Subscription: A subscription (live query) that tracks if the logged-in user owns the course. This ensures the UI updates immediately if the purchase status changes.
Subscriptions are particularly useful because they notify the frontend automatically when backend data changes, keeping the UI in sync without manual refreshes.
Binding Data to UI Components
Once data sources are ready, the next step is to bind the data fields to the appropriate UI elements:
Course Title: bound to the title text component.
Number of Learners: displayed next to the title, showing the count of owners.
Media: conditionally bound to either the course video (if purchased) or cover image (if not purchased).
Author Name and Bio: bound to the author view texts.
Course Description: bound to the details view.
Course Price: bound to the price label in the purchase panel.
Momen simplifies data fetching by automatically resolving related entities, such as fetching author details linked to the course without explicit joins.
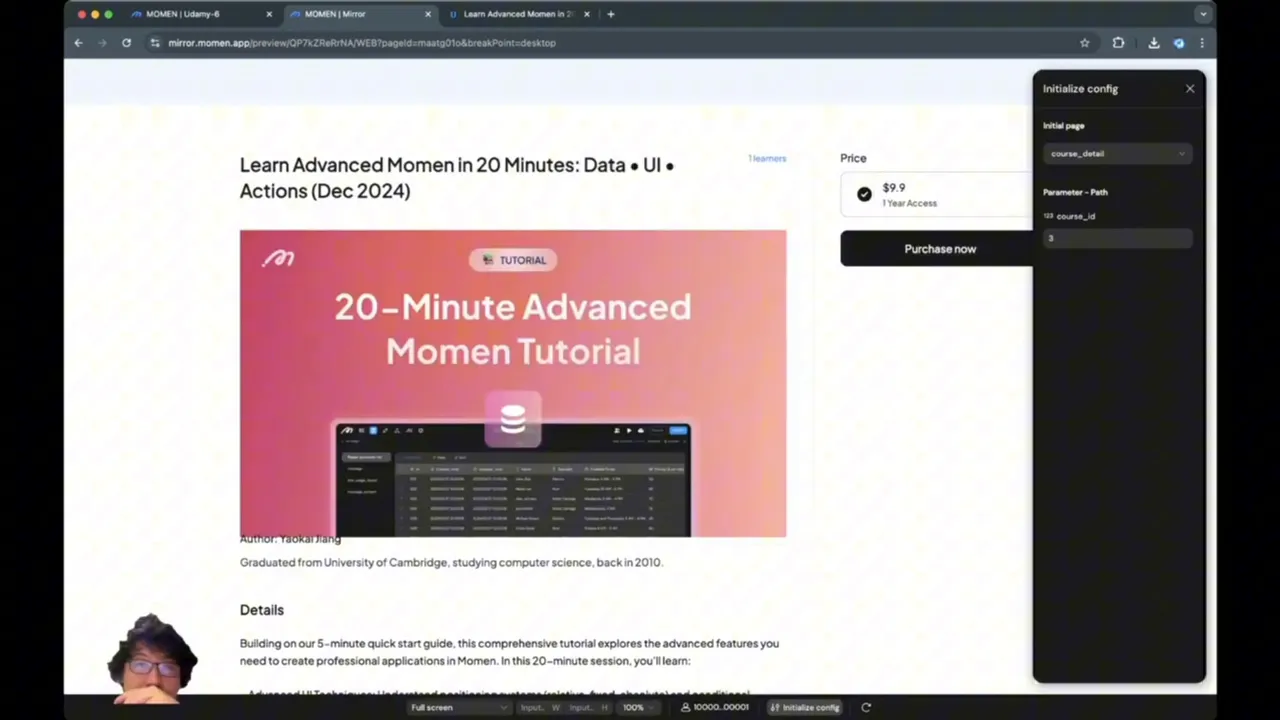
Previewing and Testing Data Binding
After binding, preview the page by passing a valid course ID. If the data is missing or the course ID is not provided, the page will not display meaningful content.
Check both purchased and non-purchased states by using course IDs with different ownership statuses to verify the conditional views update correctly.
Configuring Conditional Logic for Purchase States
The final step is to set up the conditional logic that controls which views are shown based on purchase status. This involves:
Checking if the logged-in user exists.
Verifying if the user owns the course via the subscription data source.
The logic prioritizes the purchased state to avoid duplicated configuration and ensures the correct UI components display accordingly.
For example, the video player and AI input interface only appear if the user is logged in and owns the course. Otherwise, the purchase button and course cover image are shown.
Summary and Next Steps
In this tutorial, we have successfully:
Designed a responsive course detail page layout with top and bottom views, side panels, and conditional containers.
Implemented conditional views to toggle between purchased and not purchased states.
Set up data sources and subscriptions to dynamically fetch and react to backend data.
Bound data fields to UI components for a dynamic, data-driven page.
Configured conditional logic to display the correct views depending on purchase status.
The next logical step is to implement the purchase flow itself, allowing users to buy courses and immediately see updated ownership status reflected on the page. Additionally, enhancing the AI interaction functionality will provide a richer user experience.
Frequently Asked Questions (FAQ)
What is the purpose of using subscriptions in data binding?
Subscriptions act like live queries that notify the frontend of any changes in the backend data. This ensures the UI stays updated without needing manual refreshes, especially useful for reflecting changes in purchase status in real-time.
How do conditional views work in Momen?
Conditional views allow you to show or hide UI components based on specific conditions, such as user login status or purchase ownership. They help in creating dynamic interfaces that adapt to different user states.
Why is it important to set max-width on containers?
Setting a max-width prevents content from stretching too wide on large screens, which can harm readability and visual aesthetics. It helps maintain a consistent and user-friendly layout.
Can I customize the URL path for better SEO?
Yes, you can create more descriptive URL paths for SEO purposes. However, using the course ID is simpler for initial development and ensures direct access to course data.
How do I handle different font styles and colors consistently?
Using theme colors and font styles centrally helps maintain consistency across the app. Defining these styles once and applying them throughout reduces repetitive work and ensures uniform appearance.