How to Build a User Authentication System
In this tutorial, we will demonstrate how to build a complete user authentication system in Momen. You will learn to create both Username/Password and Verification Code (via email) login and registration flows.
We'll walk through how to design the interface, validate user input, and manage different UI states with Momen.
This guide covers:
Switching between Login and Sign-up forms using a Conditional View.
Validating user inputs, such as checking for empty fields and matching passwords.
Implementing authentication logic using Momen’s built-in User Actions.
Creating a countdown timer for sending verification codes using Scheduled Jobs.
Project Setup: Creating Pages
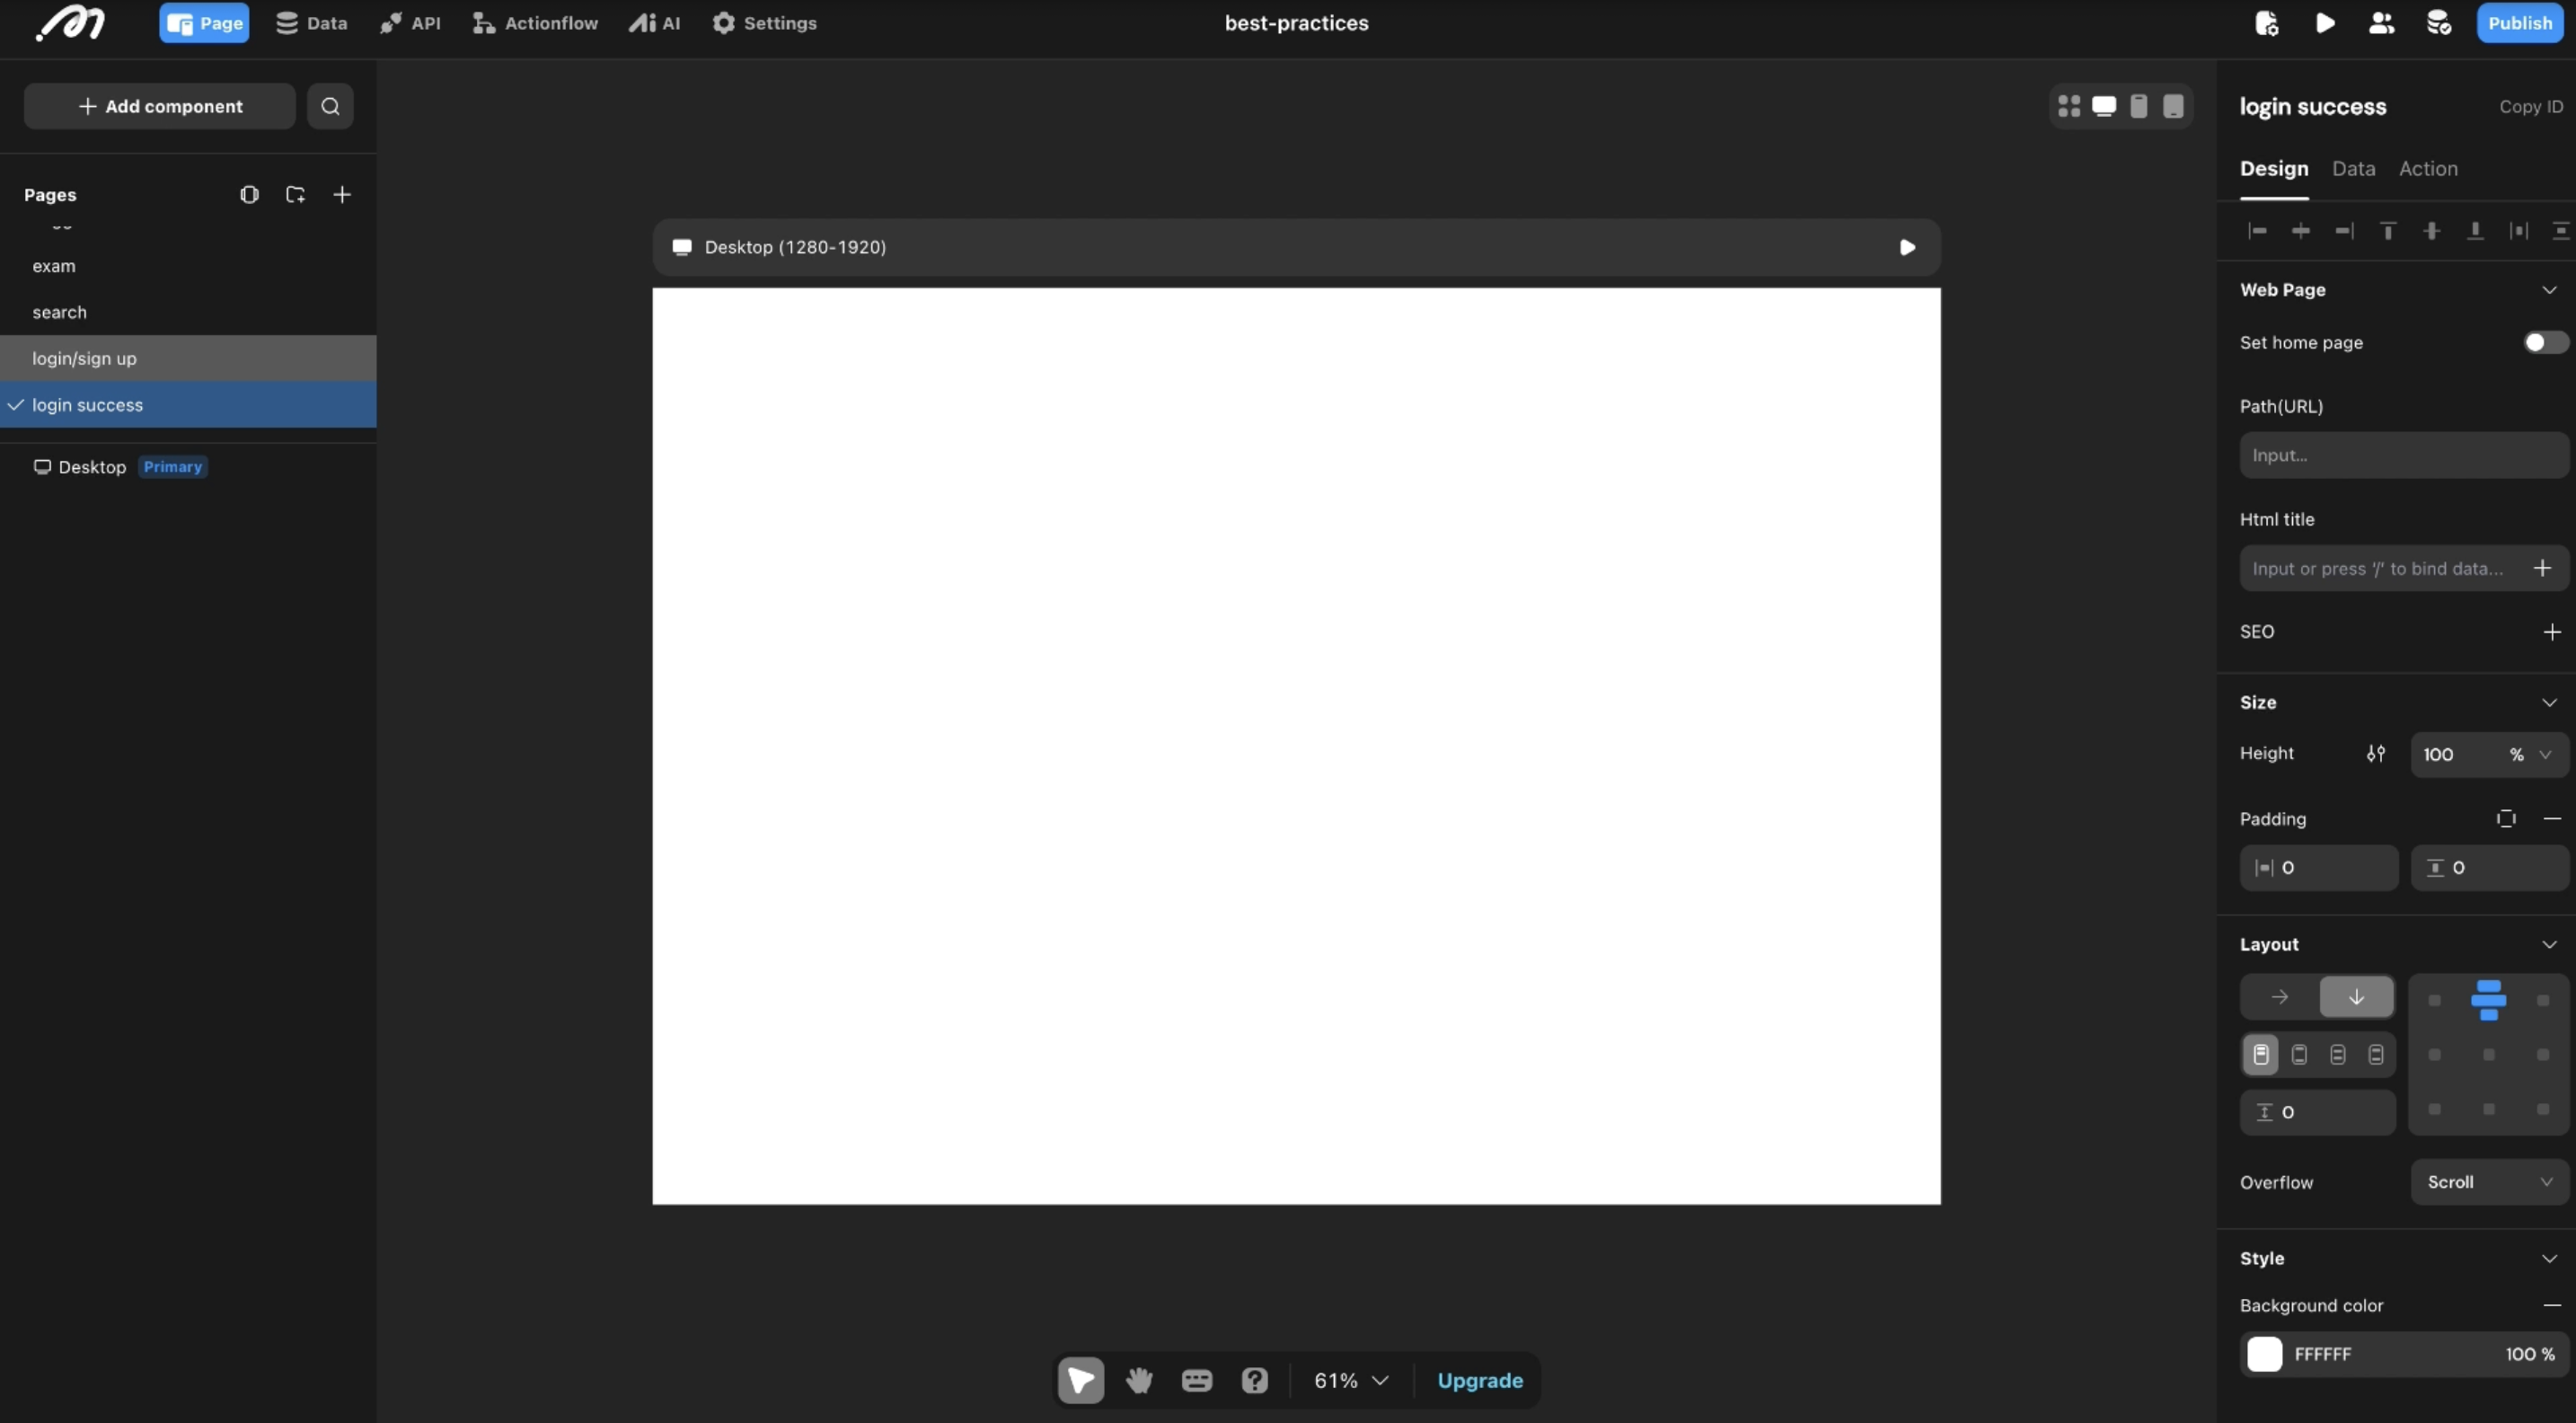
Before building the forms, we need two pages: one for the login/signup interface and another to redirect to upon successful authentication.
In the Pages panel, click + Add component and create a new blank page.
Name the first page
login/sign up.Create a second page and name it
login success. This page will serve as the destination after a user successfully logs in or registers.
Part 1: Username and Password Authentication
First, we'll build the classic username and password login and registration flow.
Step 1: Build the UI with a Conditional View
A Conditional View allows us to display different sets of components based on specific conditions. We'll use it to switch between the Login and Sign-up forms on the same page.
Select the
login/sign uppage.From the Components panel, drag a Conditional View onto the canvas.
Click the Config button in the top-right inspector panel for the Conditional View.
Create two cases:
Rename
Case 0tologin.Click + Add and name the new case
sign up.
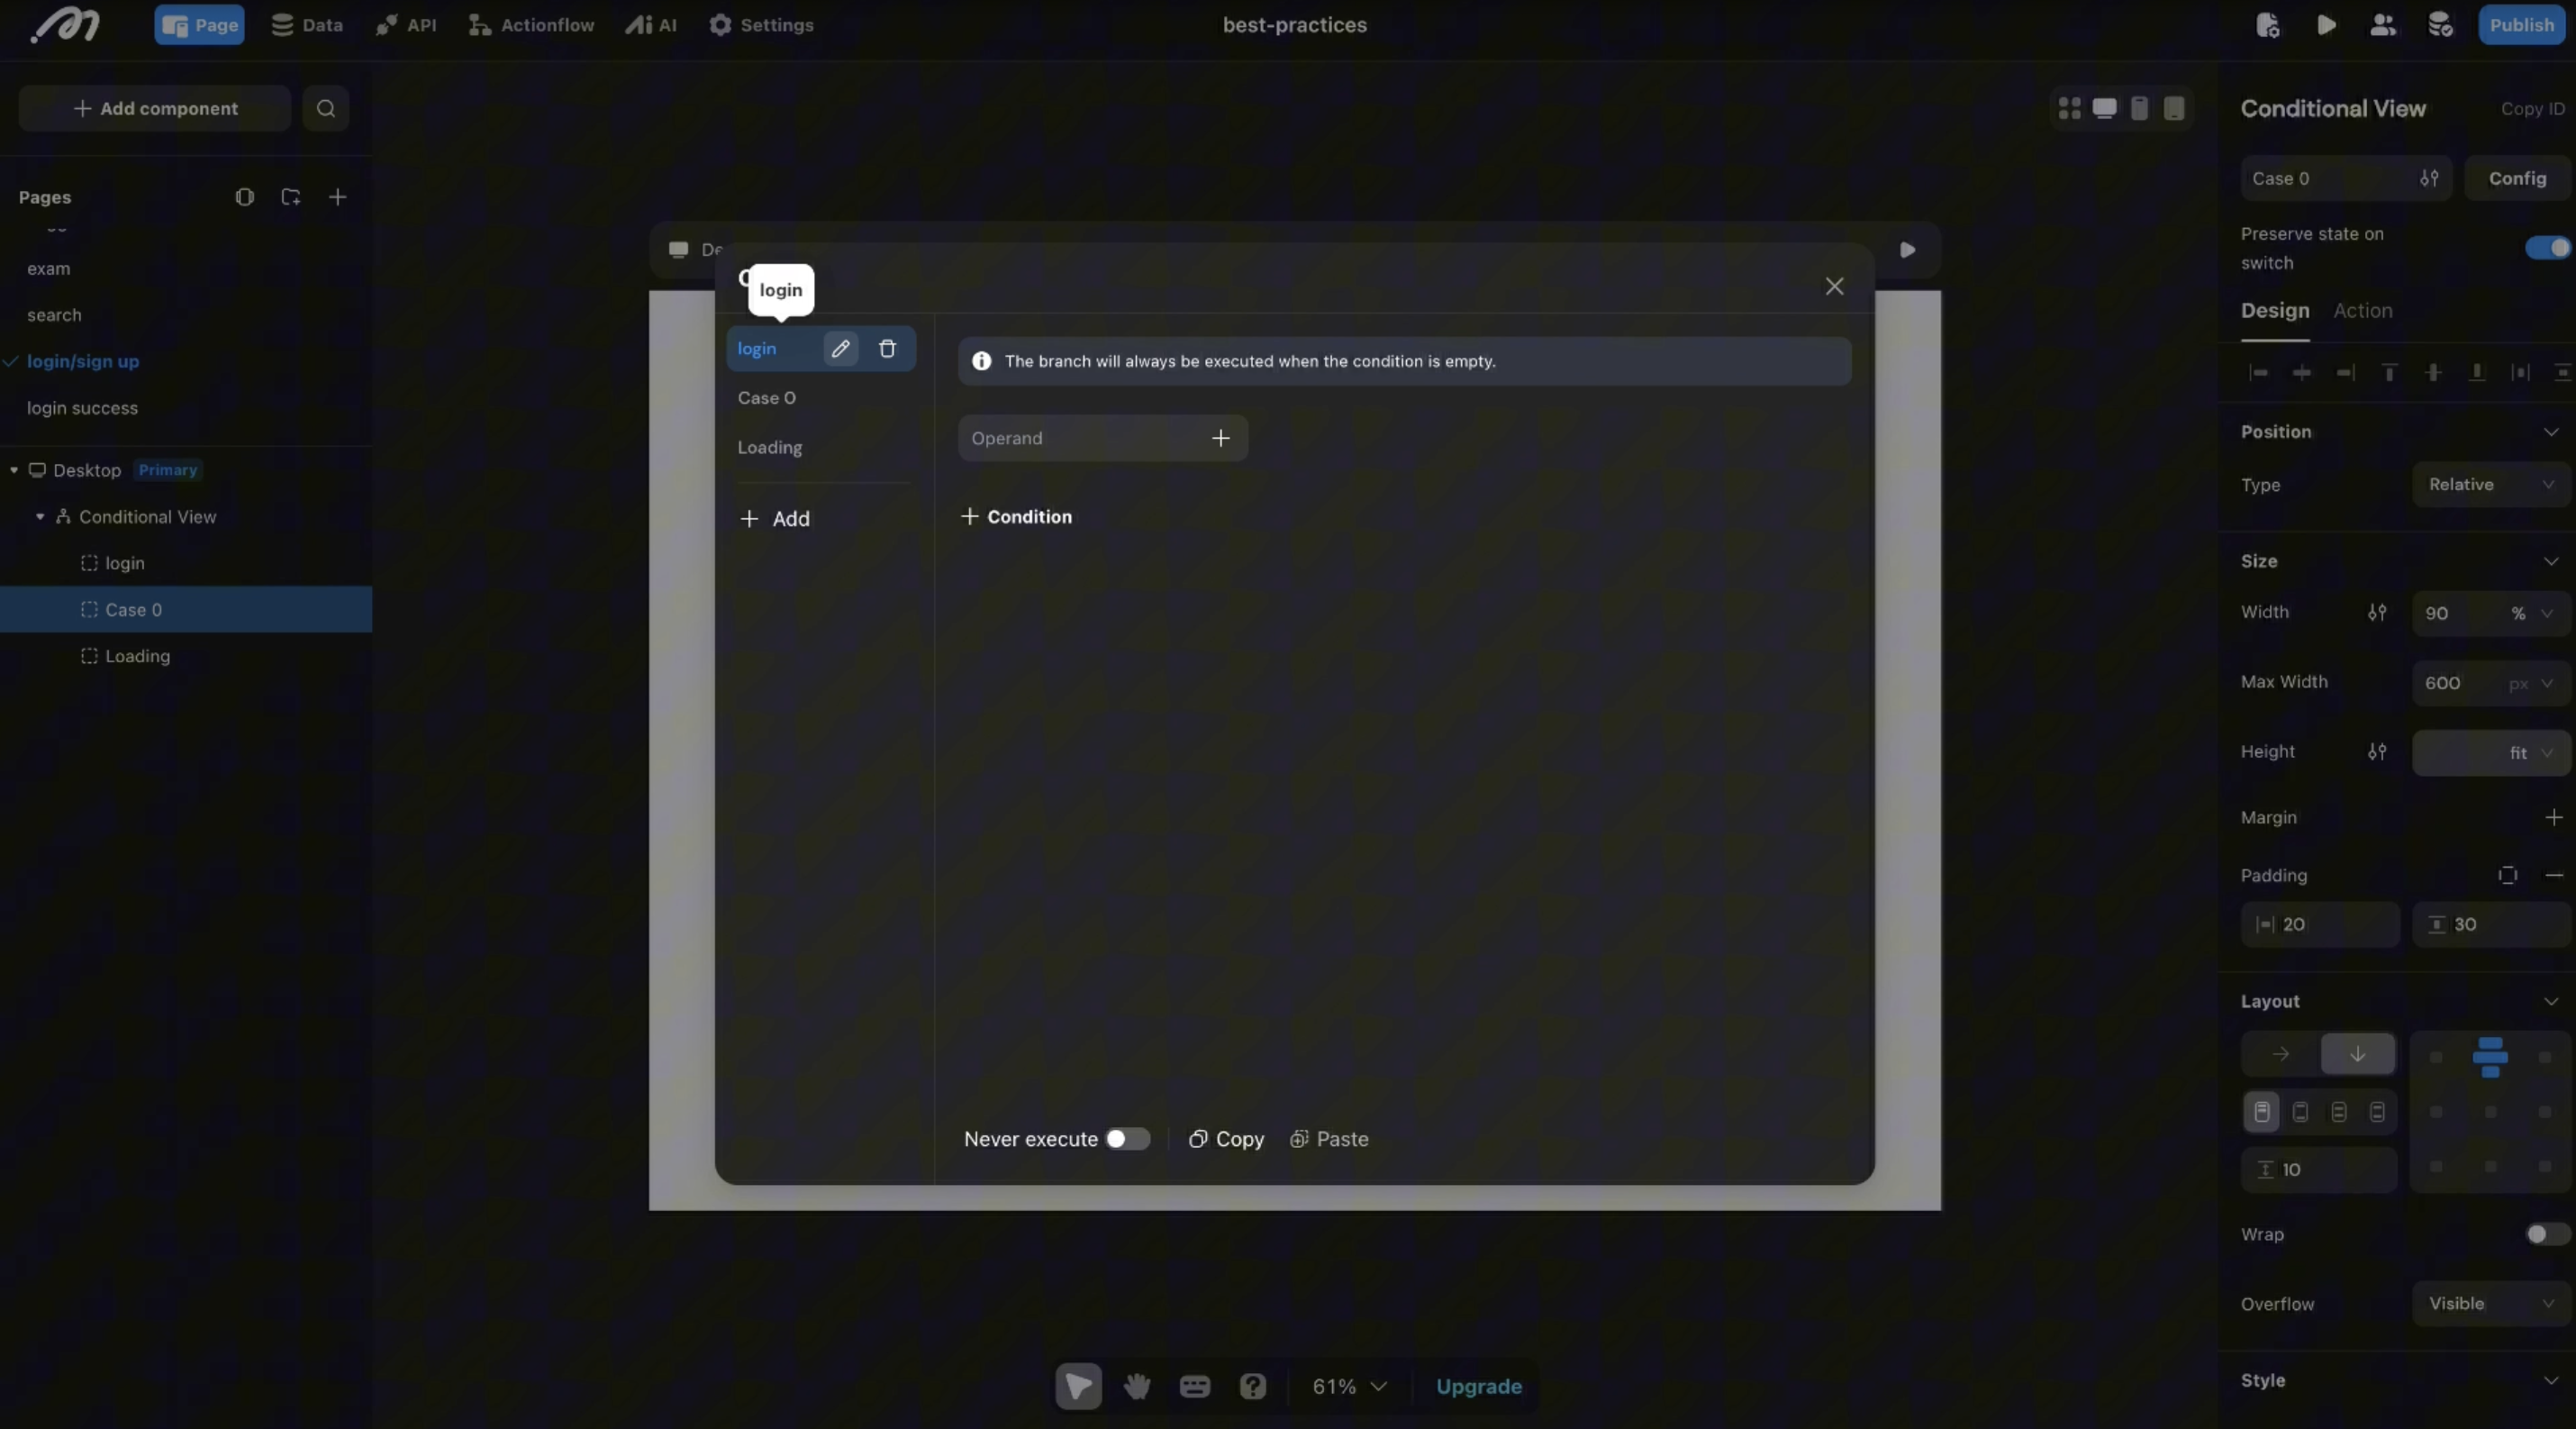
This setup lets us build the login interface in the login case and the registration interface in the sign up case.
Step 2: Create the Login Form
Now, let's build the form for the login case.
In the component tree, select the login case.
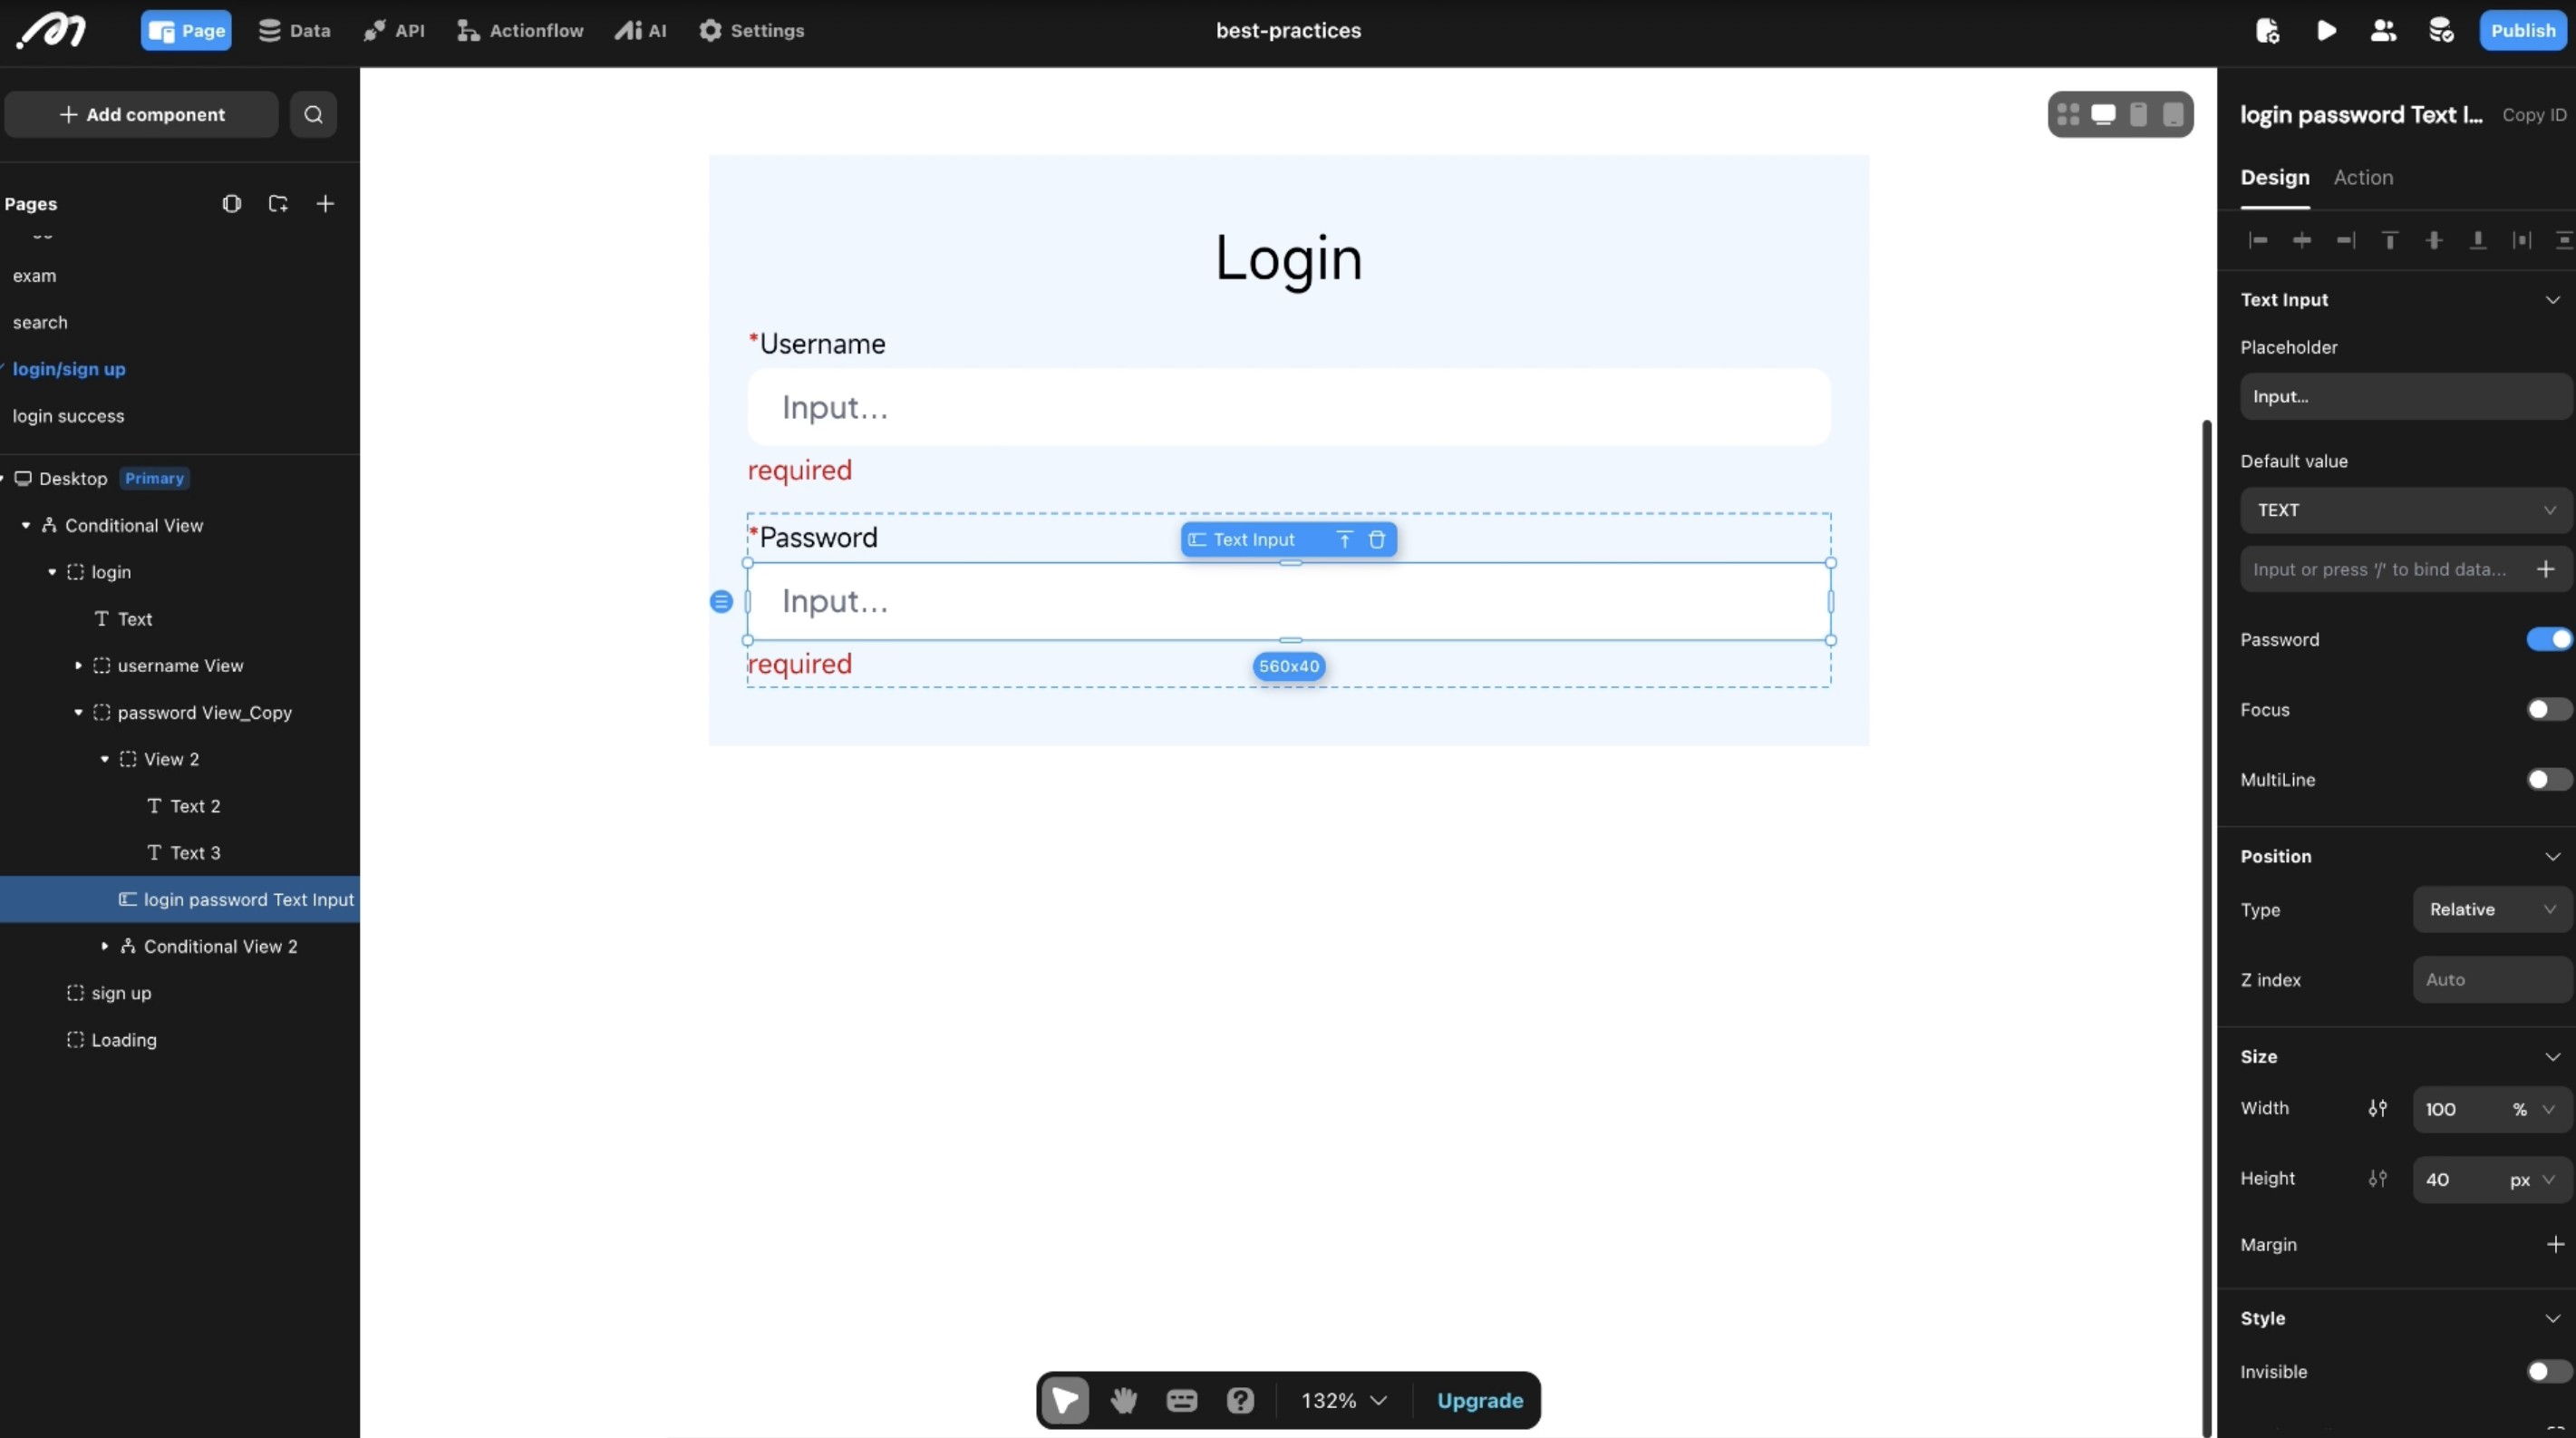
Add a View container to group the username field components. Name it
username View.Add a Text Input component for the username and name it
login-username-text-input.Duplicate the
username Viewcontainer to create a second group for the password. Name itpassword View.In the
password Viewcontainer, rename the Text Input tologin-password-text-input.Select the
login-password-text-inputand, in the right-hand inspector, enable the Password toggle to mask user input.
Step 3: Implement Input Validation
We'll add a "required" message that appears only when a user clicks the login button and an input field is empty.
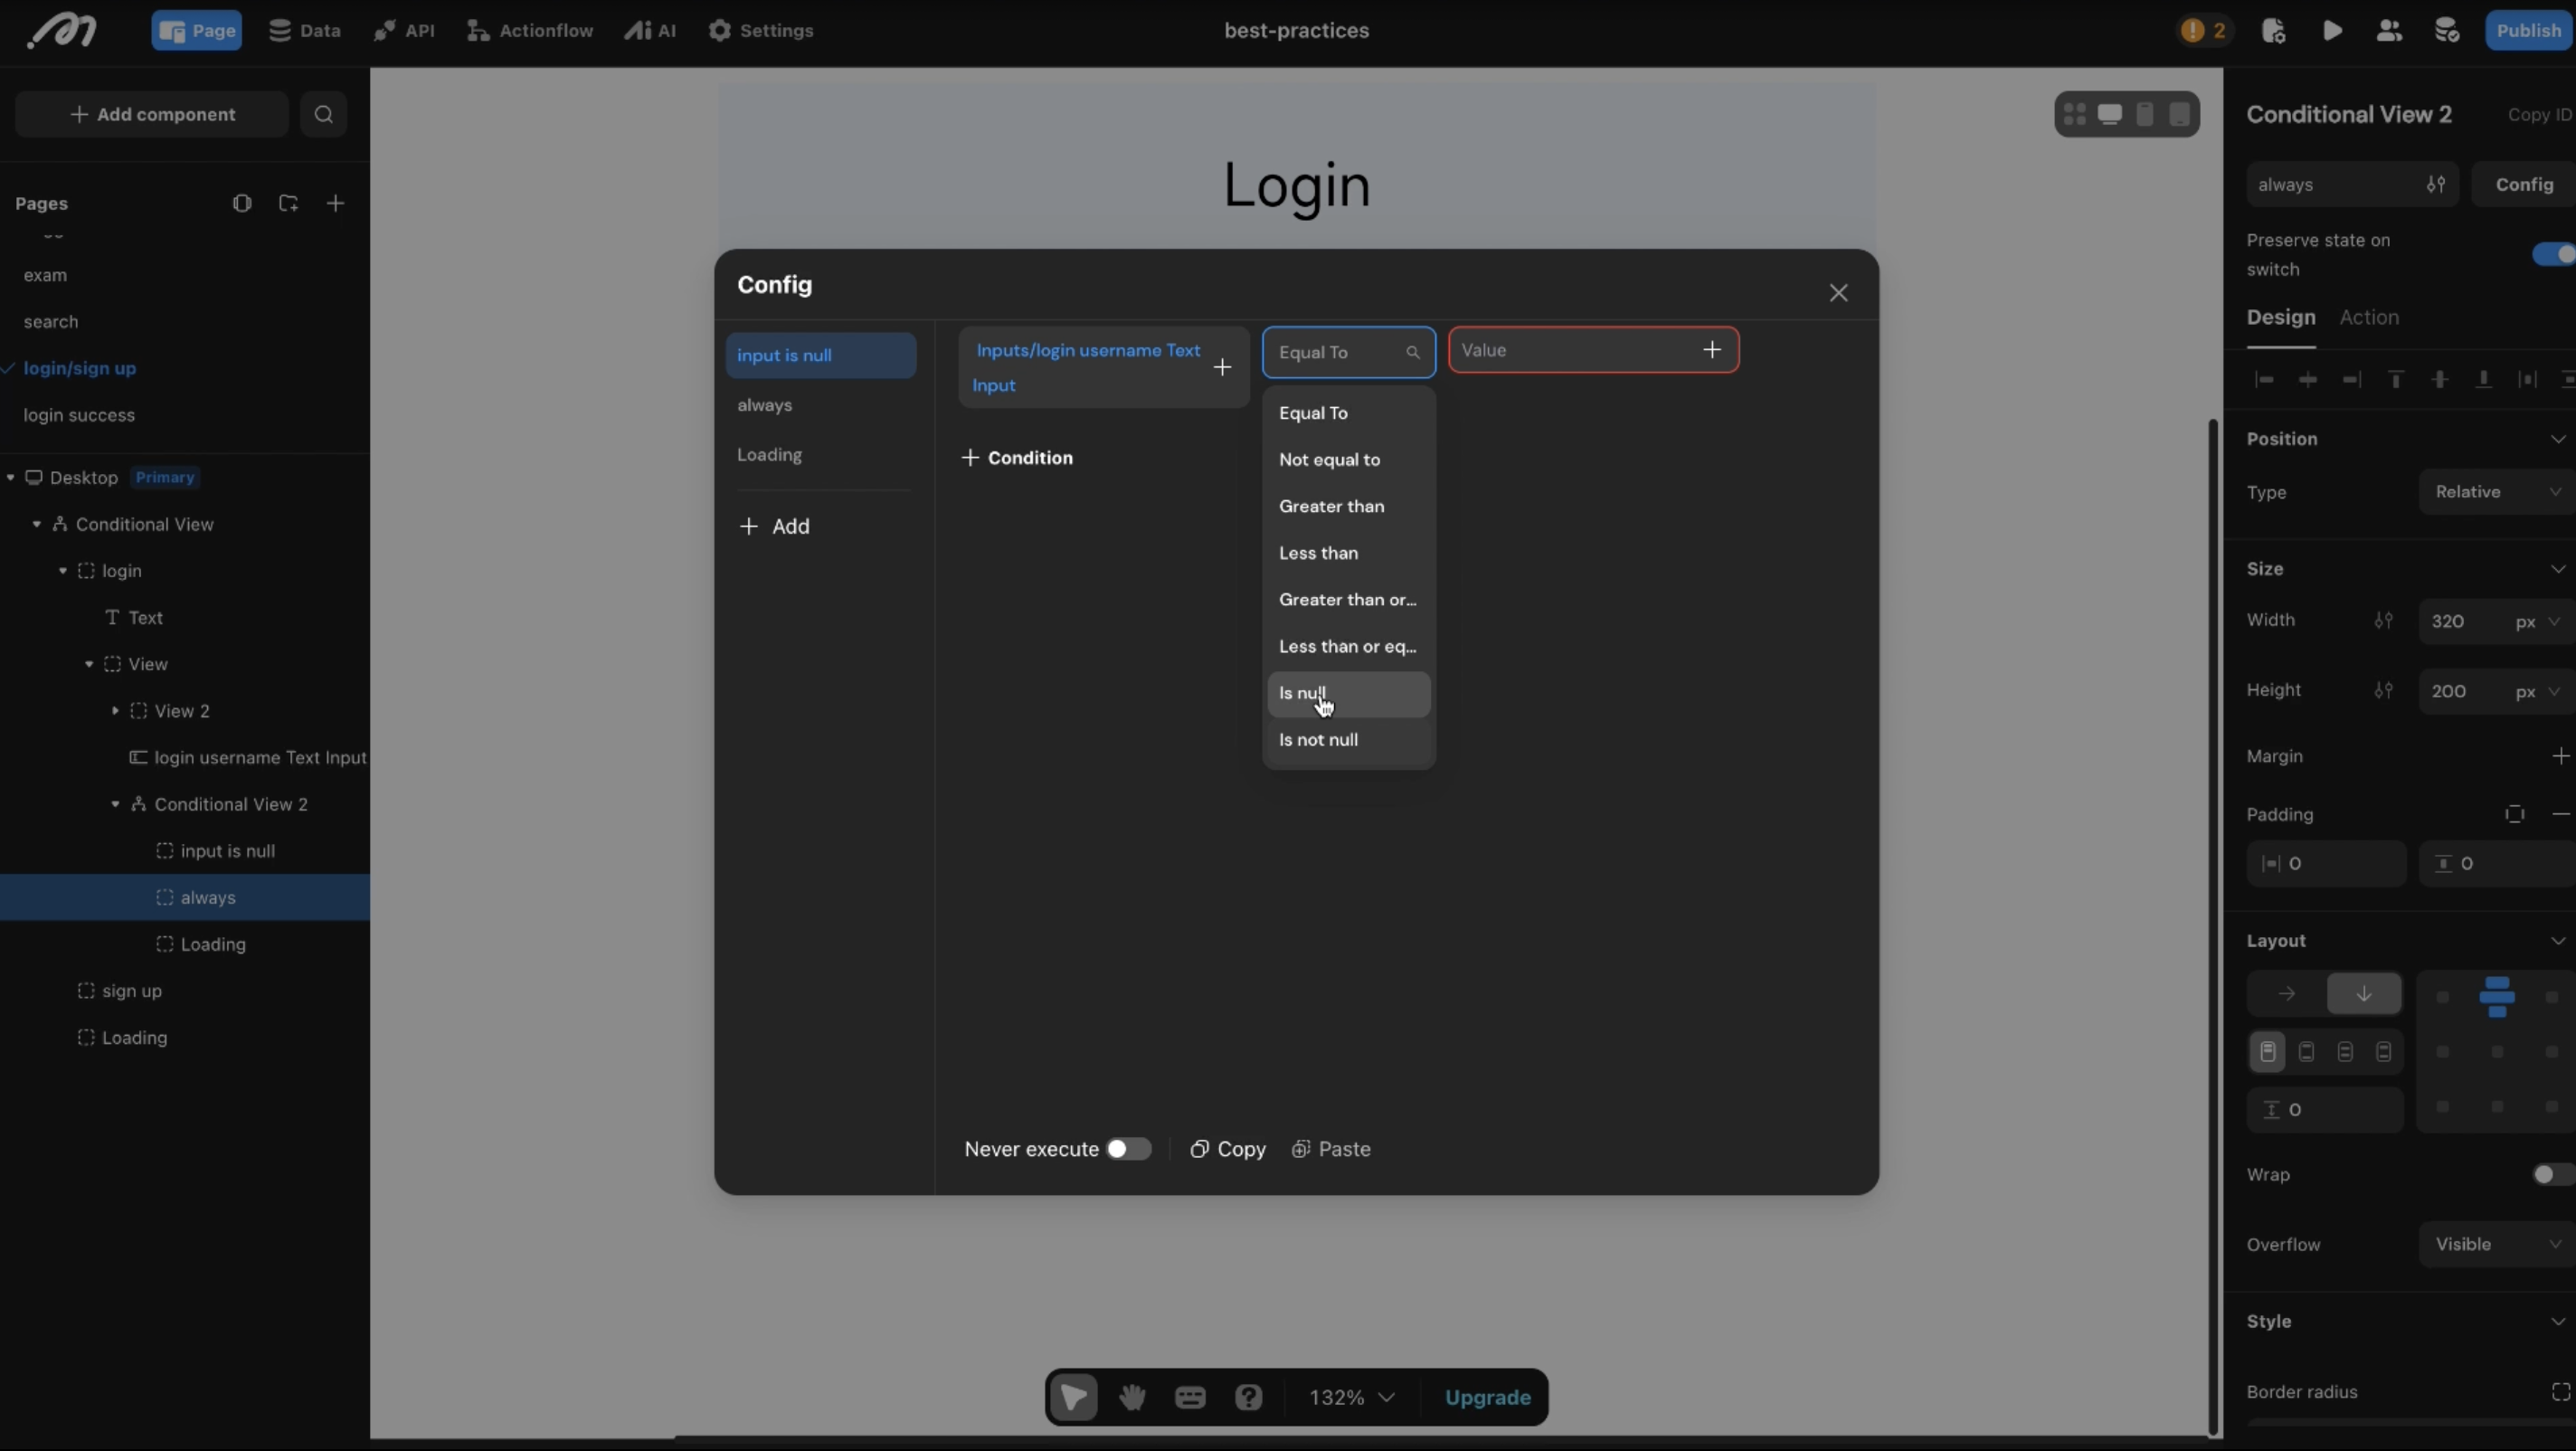
Inside the
username View, add a Conditional View.Configure its conditions:
Case 1 (Name:
**input is null****):** This case will display the error message. Set its condition toInputs > login-username-text-input > is null.Case 2 (Name:
**always****):** This is the default, empty state. Set its height to0pxso it takes up no space.
Inside the
input is nullcase, add a Text component with the content "required". Style it as needed (e.g., red color).Repeat this process for the password input field.
Step 4: Configure the Login and Sign-Up Actions
Next, we’ll add the buttons that trigger the login logic and switch between forms.
Add a Button below the input fields and set its text to "Login".
Add a Text component below the button with the content: "Don't have an account yet? Sign up now."
Configure the Login Button:
Select the Login button and go to the Action tab.
Add the User Actions > Login > Username action.
Bind the
Usernameparameter toInputs > login-username-text-input.Bind the
Passwordparameter toInputs > login-password-text-input.Under **Actions on success**, add a
Navigation > Go Toaction and select thelogin-successpage.Under **Actions on failure**, add a
Toast Notifications > Show Toastaction with a message like "Login failed."
Configure the "Sign up now" text:
Select the text and go to the Action tab.
Add the Component Management > Switch View Case action.
Set the Target to the main Conditional View and the Switch case to
sign up.
Step 5: Configure the Sign-Up Form
The sign-up form is similar to the login form but requires an additional field to confirm the password.
Copy all components from the
logincase and paste them into thesign upcase in the component tree.Update the component names and labels to reflect "Sign up" (e.g.,
signup-username-text-input).Duplicate the password group to create a "Confirm Password" field. Rename the components accordingly.
Change the “Sign up” button’s action to **User Actions > Registration > Username Register**. Bind the corresponding inputs.
Change the text link at the bottom to "Already have an account? Log in." and configure its action to switch the Conditional View back to the
logincase.
Key Configuration (Part 1)
Conditional View: Manages the display of Login and Sign-up forms using
loginandsign upcases. A nested Conditional View is used for input validation.Text Input: Captures user credentials. The Password property is toggled on to mask sensitive information.
User Action (Username Login/Register): Built-in actions that handle the backend authentication logic.
Component Management (Switch View Case): An action used to dynamically switch the visible case in a Conditional View, allowing seamless navigation between forms.
Part 2: Email and Verification Code Authentication
This flow allows users to log in or register using a verification code sent to their email.
Step 1: Set Up the UI for Email Verification
First, adapt the UI to handle email and a verification code instead of a password.
Create a new page (e.g.,
email_login/signup).In the Login and Sign-up forms, replace the "Username" input field with an "Email" input field.
Replace the "Password" input field with a "Verification code" input field.
Step 2: Create a Countdown Timer
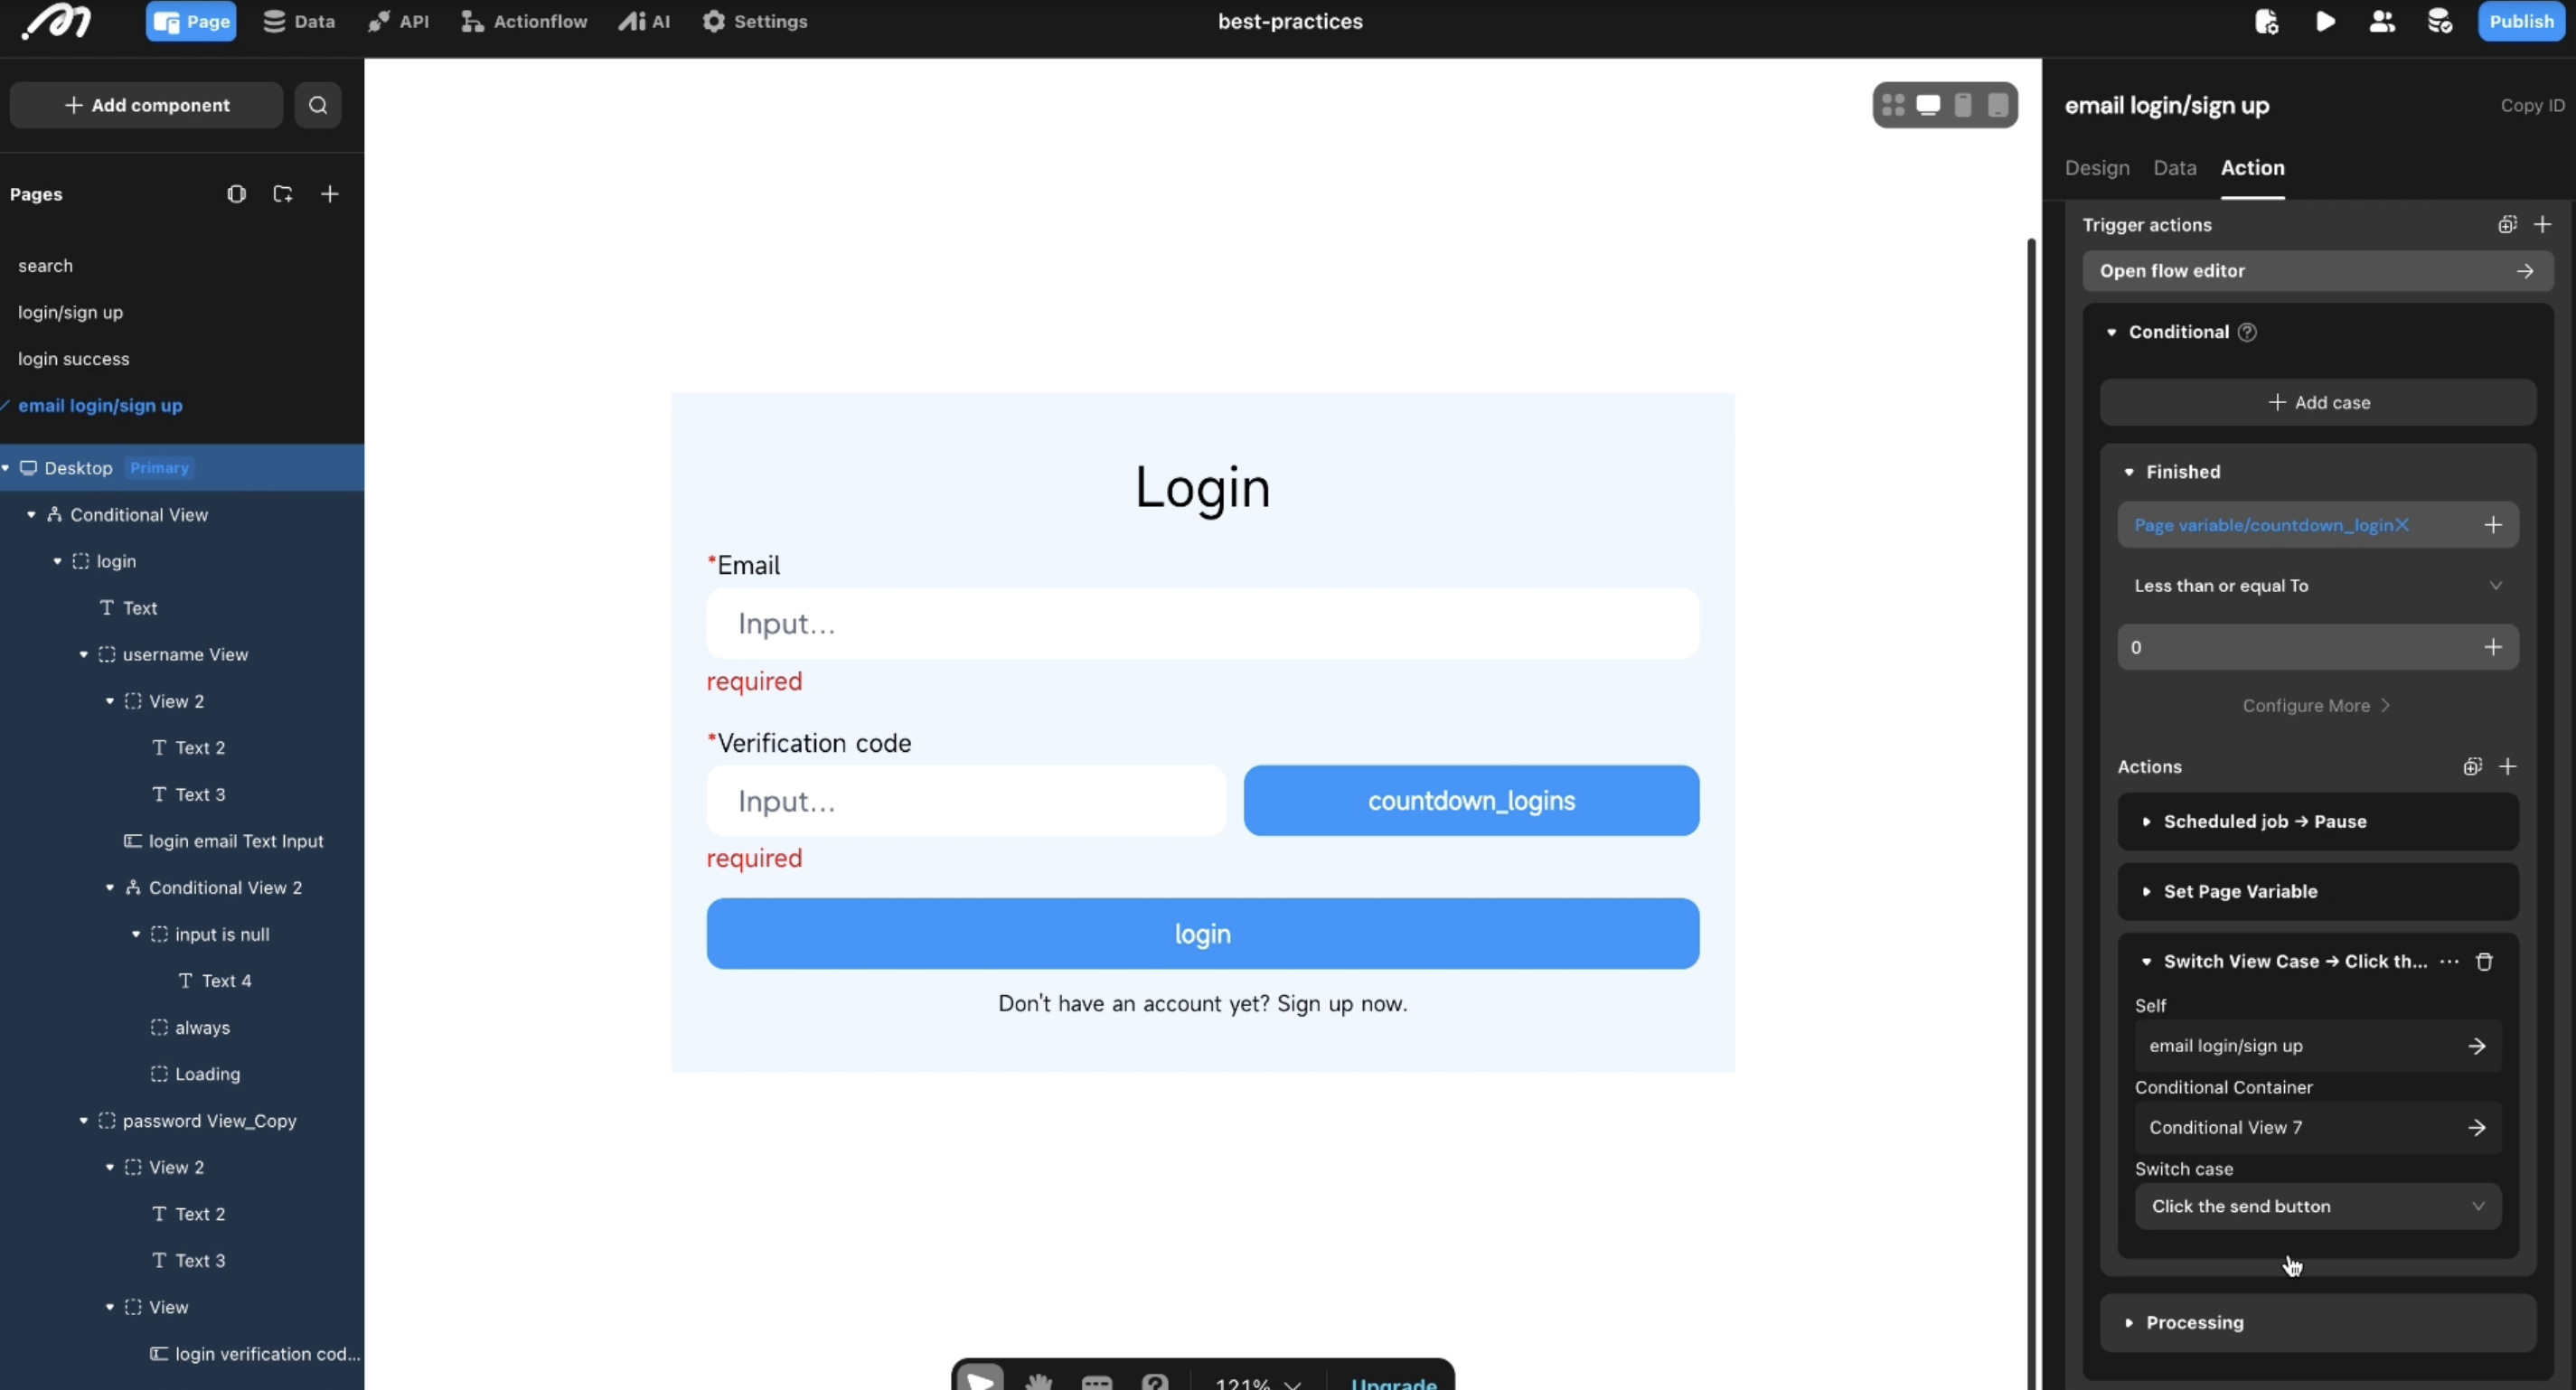
We will create a scheduled job that runs every second to update a countdown timer. This prevents users from spamming the "Send Code" button.
Select the page and go to the Data tab. Create a new Page Variable named
countdown_signup. Set itsTypeto BigInt (a number type) and itsDefault Valueto **60**.Go to the Action tab for the page and add a **Scheduled job**. Name it
signup_up.Set the Trigger interval (ms) to 1000 (1 second).
Add a Conditional action with two cases:
Case 1 (Finished): When the countdown is over. Set the condition to
Page variable > countdown_signupisLess than or equal to0.Action 1:
Scheduled job > Pausethesignup_upjob.Action 2:
Set Page Variablecountdown_signupback to60.Action 3:
Switch View Caseto show the "Send verification code" button again.
Case 2 (Processing): While the countdown is running.
Action:
Set Page Variablecountdown_signupusing a formula to subtract 1 from its current value.
Step 3: Configure the Send Code and Countdown UI
Use a Conditional View to switch between the "Send verification code" button and the timer display.
In your Verification Code input group, add a Conditional View next to the input field.
Configure two cases:
Click the send button: This case contains a button with the text "Send verification code."Counting down: This case contains a text element that displays the countdown.
Configure the "Send verification code" button's action:
Add the User Actions > Send Verification Code action. Set
Send byto Email andVerification code typeto **Register**.Bind the
Send toparameter to the email input field.On success, add two actions: Start the
signup_upscheduled job and Switch View Case to show theCounting downview.
Configure the Countdown Display:
Inside the
Counting downcase, add a Text component.Bind its content to the
Page variable > countdown_signup, and add "s" as a suffix to display the remaining seconds (e.g., "59s").
Step 4: Configure the Sign-Up Action
Finally, configure the main Sign-Up button to use the email and verification code.
Select the "Sign up" button. Replace its existing action with **User Actions > Registration > Email Register**.
Bind the
Email,Password, andVerification Codeparameters to their corresponding input fields on the form.Set up the Actions on success and Actions on failure with Toast messages and navigation as needed.
Key Configuration (Part 2)
Page Variable: A numeric variable (
countdown_signup) to store the state of the timer.Scheduled Job: A recurring task that runs every second to update the page variable, creating the countdown effect.
User Action (Send Verification Code): Sends a code to the user's email and is configured to handle registration or login scenarios.
User Action (Email Register): Registers a new user using their email, a new password, and the verification code they received.
*The logic of configuring login is similar to the part 1. Copy and paste relevant components and they modify the names and actions.
Summary
In this tutorial, you learned how to implement two common user authentication flows in Momen. By combining Conditional Views, User Actions, and Scheduled Jobs, you can create a secure and user-friendly login and registration experience without writing any code. These same principles can be applied to build a phone number-based verification flow.
Frequently Asked Questions (FAQ)
How do I switch between the Login and Sign-up forms?
Use a Conditional View with two cases, one for each form. A "Switch View Case" action, triggered by a button or text link, allows the user to toggle between them.
How does the countdown timer for the verification code work?
The timer is powered by a Scheduled Job that triggers every second. This job updates a numeric **Page Variable**, and the displayed text is bound to this variable. When the variable reaches zero, the job pauses itself and resets the timer.
How can I validate that the password and "confirm password" fields match?
On the "Sign Up" button, use a Conditional action. Set the condition to check if the two password input fields are not equal. If they aren't, show an error message (like a Toast). If they are equal, proceed with the registration action in the else case.